IT administrators
Questions you can answer
- Which rack and U position contain this device?
- Which port and cable lead to the equipment at the other end?
- What did the records show before the last change?
01. Locate equipment before entering the server room.
Start with the site and rack. Front and rear views connect the documentation to the physical space where you will work. Open the device record to check its name, identifiers and technical details. This gives the administrator planning the change and the technician on site a shared reference.
- Check the U position, equipment height and mounting side.
- Match serial numbers and equipment labels against the physical device.
- Review custom fields and notes relevant to the task.
02. Identify the connections involved.
Open the ports and inspect the recorded cable endpoints. Rack connection views and topology help you follow the documented physical layout. Check it on site before reconnecting anything: records need to reflect reality. Use the verified information to prepare your own action list and rollback plan.
- Identify source and destination ports and cable labels.
- Include rear ports and internal connections where relevant.
- Give colleagues shared identifiers rather than “the yellow cable”.
03. Leave a current record for the next shift.
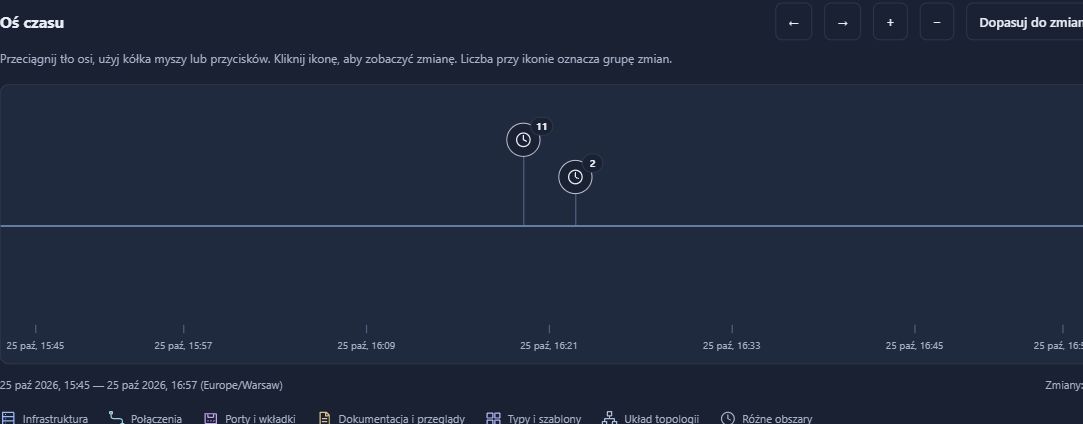
After maintenance, update mounting positions, ports and cable endpoints to match the verified result. Change history lets the team inspect previous values recorded in the system. The next shift can start with documentation that includes the work, instead of relying on a private message or someone’s memory.
- Update connections after moving cables.
- Review the before-and-after values in change history.
- Compare the inventory with the rack again during a later stocktake.
What the team has afterwards
- Clearly identified equipment and rack positions.
- Recorded ports and cable endpoints to verify before maintenance.
- Current documentation and a history useful for shift handover.
Topology reflects recorded information. RackDocs does not monitor availability, calculate outage impact automatically or make changes on devices.
NIS2 / KSC
An asset inventory is also a starting point for NIS2 and KSC.
Knowing your devices and their physical dependencies supports asset documentation and provides input for risk assessment. In NIS2/KSC preparation, this is a practical part of asset management that can fit into everyday change work.
How RackDocs supports NIS2 / KSC preparation →Explore the features used
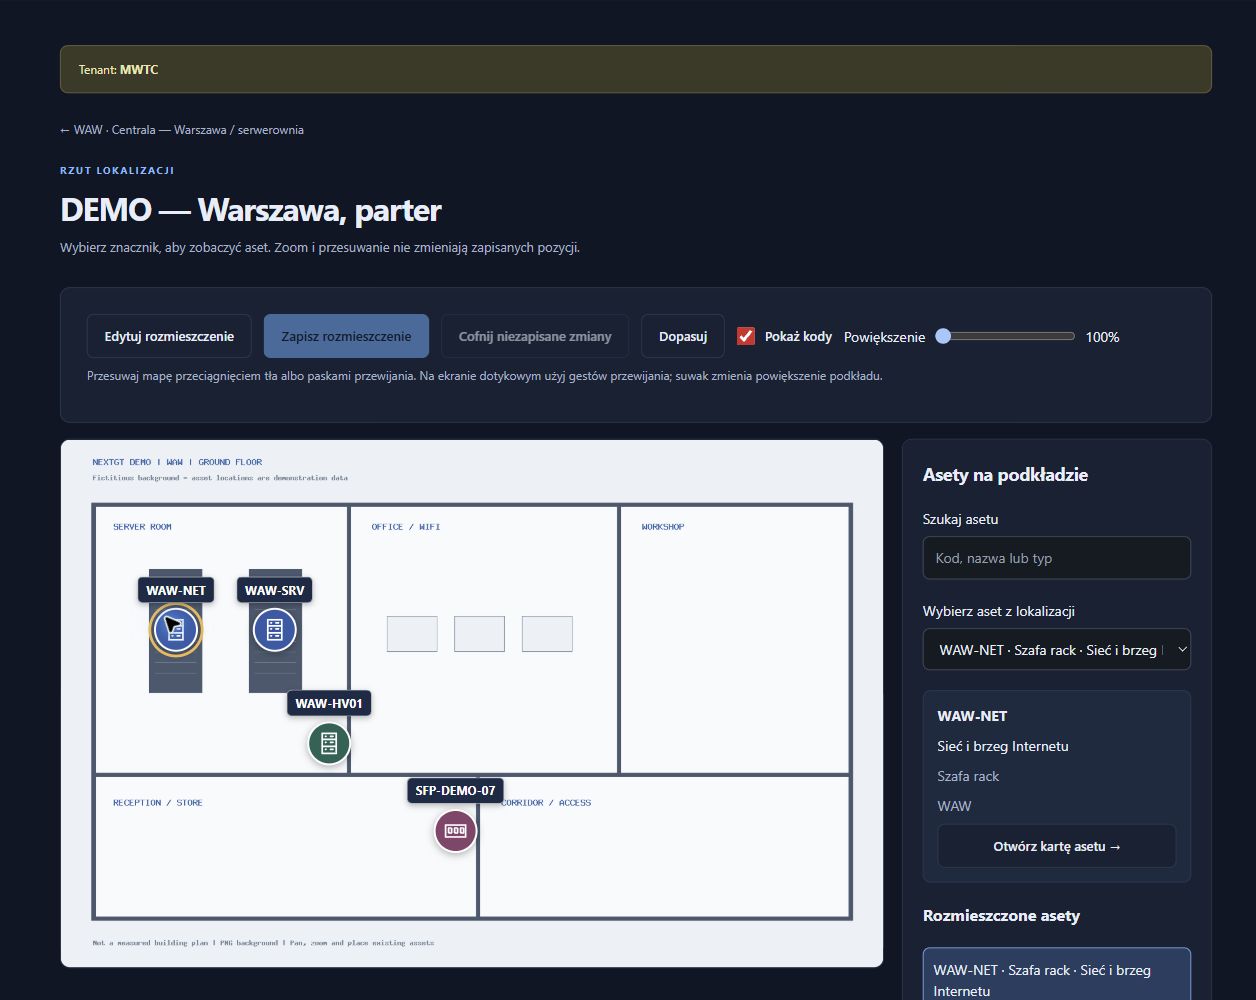
These scenarios illustrate possible uses, not customer case studies. Screenshots come from a RackDocs demonstration environment and show the Polish interface.